Sunday, June 24, 2012

Say Sayonara to Polish-Stained Nails


1 tbsp peroxide 
2  tbsp baking soda

Seriously that's all it takes! Make the paste and apply to nails making sure you get underneath the tip of your nails as well. Let sit for 5 minutes and rinse off. It didn't damage my nails what-so-ever and left them much whiter!

Tuesday, June 19, 2012

Holden Beach, NC

Holden Beach, NC

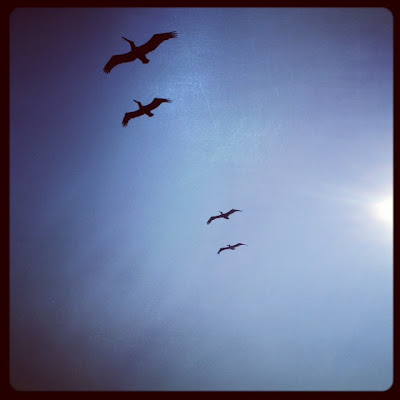
Birds of a feather


Picture of my "sex on the beach" on the beach


Free spirits have to soar

Tuesday, June 12, 2012

DIY Decorative Cake Platter

What you'll need: tissue paper (or any decorative paper), scissors, hot glue gun, white paper, mod podge, sponge brush, water proofing spray, pan, and a sturdy (and non-breakable) party glass.


I started by buying a round pizza pan from the dollar store and gluing white printer paper to cover the pan to ensure the tissue paper would be bright. I cut the colorful pieces of tissue into different sized strips and arranged them in the order I liked. I put down a base layer of mod podge and placed the strips down to the platter. Once they were all set, I carefully put a top coat of mod podge over the tissue, but be very careful as the tissue is very fragile (I had to go over some tear spots with fresh strips of tissue). 


Then, I bought a plastic drinking glass from Michael's craft store and glued it to the bottom of the pan using a hot glue gun. Now I have a cake platter with my own design instead of a store bought plate! 


Total cost of this project:
because I already had the hot glue gun, tissue paper, mod podge, and spray,
my only expenses were...
Round Pizza Pan: $1.05
Margarita Glass: $1.49


Monday, June 11, 2012

DIY Recycled Magazine Placemats

I saw this on pinterest and thought it was a great (and very inexpensive) way to add color  to any old table for the summer. I used an old PB Teen magazine because I has a couple of them and love the colors in them. I then ripped out one page and folded in in half, then folded it in half two more times until I only had a small strip left.


The tutorial I read said to sew all the strips together but they were too thick and actually clogged up my sewing machine! I used clear tape instead and that worked just fine to hold them together. Then, I used mod-podge on one side, let it dry, then did the same to the other side. After it was completely dry and the strips were secured to one another I sprayed each side with a clear, water-resistant spray, let dry, and they were done!


I used 11 strips per place mat but you could certainly use more and I kind of suggest it because although mine fit a plate, its more of a tight squeeze :P


Saturday, June 9, 2012

Gummy Worm "Bait" in Mason Jar

I'm going on a beach trip with my boyfriend and his family and needed thank you gifts to give them. I found his dad this awesome grilling spatula and his mom hand-made starfish designed earrings, but I still wanted to give him and his brother something. I saw a Valentine's Day tin with gummy worms inside that said "I'm hooked on you" and got my idea from that. I had extra mason jars and headed to Target and bought three bags of worms (just $1 each!) and printed little fishies off the internet and used them to decorate my cans of bait :D


DIY Customized Mason Jar Party Favors

Hey everyone! So this Friday is my Birthday and after dinner I invited some close friends over to celebrate my boyfriend and I's birthday (we're only a week apart!). I wanted to do something simple that they could use at the party and then take home with them as a favor. I  think mason jars are super cute and this gift is soooo easy and customized for each guest.


I found the chevron pattern through an HGTV printable and used a photo edit site to put the names in the print.


Find the chevron and many more free printables here: (http://www.hgtv.com/entertaining/our-favorite-printable-party-invitations-for-year-round-celebrations/pictures/index.html) and used fotoflexer.com to edit them.


After sizing the lid and printing the tags, I used a box cutter to cut around the lid to get the size perfect. Glued them on with a glue stick (it actually worked better than mod podge!) and let dry.