Sunday, March 6, 2016

Using String Art to Create a Pet Leash Holder

Materials: 

Wooden Board 
Colored Embroidery String 
Nails (I used 1" white panel board nails)
Two-prong hooks 
Hot glue, hammer, printer

Step One: Choose your pattern and print onto paper. Center and tape the paper onto your board.

Step Two: Use a pen to mark where your nails will go. Make sure you use enough to keep the shape of the image you chose!

Step Three: Start nailing those babies in place! About 3/4 the way through, if your board is deep enough. I struggled with some parts of my board being thicker than others due to panels. As long as the nails are sturdy and have enough room to add sting, you're golden.

Step Four: Tie off a section of embroidery string onto a starter nail. Begin by wrapping it around the nail. Move between nails, wrapping it around every few nails. This will keep it all from unwinding if one strand pops off of the nail. The amount of string and times you wrap between nails will affect the look of your string art. 

Finally, glue on your hooks and glue on a string to hang your board from.

I used a rustic board but added a little modern twist with the pop of color. Here are some other options I liked and you can use as inspiration for your own board! Of course you could use these for keys, necklaces, etc. All were found on Etsy.com:


Saturday, February 27, 2016

Welcome to the Family!

Long time no see! Since we've spoken last, Jon and I have adopted another beautiful puppy, who I'd love for you to meet. I also started a little side project that they've inspired me to start! All, meet Athena Dean. Her mom was a Shepard Corgi mix, and we are unsure what else she is mixed with.


 We visited her and her sister at the local SPCA. We brought Haven along and she and Athena went together like peanut butter and jelly. Athena's sister got adopted the same day she did. When she first came home she stayed on the floor and off the couch with the family. Then, as time went on, she made her way to the ottoman, and then to our feet, and now she rests her head on our laps as she sleeps. It took some love and trust but she has found her forever home.


Haven and Athena love going to the dog park, sleeping in the bed, playing with each-other, and going on runs. Every time I put my shoes on and put on their harnesses they get so excited and smile so big. Oh, they also love car rides! This year, we even went to the Purina Pet Parade...


I made them flower crown collars for the parade and it turns out other pup parents love them, too! I started selling a few on Etsy but mostly make them because I love to make them. Dogs deserve a little extra attention sometimes :)


For more pup updates, follow @deansrescues on Instagram!


Friday, July 3, 2015

New Home, New DIYs!

The last few weeks have felt like a whirlwind since graduation. I sold most of my furniture and drove 11 hours to my new home outside of St. Louis in Edwardsville IL. I am working as a marketing graduate assistant while getting my MBA.

The new home is coming along slowly but surely and I wanted to post our first few DIYs:

Kitchen Coffee Bar
 The metal rod and metal hanging basket are from IKEA. I used matching S-hooks to hang my mugs and turn a vitrually useless space into an easy-access coffee and tea bar.

Kitchen Table Decor
 We bought an easy (and cheap!) table from Wal-Mart, so I wanted to add a little color to make it appear a little nicer. The plants, candles, and square candle holder are from IKEA. The plates are plastic and came from Wegman's and the blue placemats are from Home Goods.

Wooden "Floating" Shelf
The wood is a simple board from Home Depot painted black with acrylic paint. We used small 90 degree metal hangers (also from Home Depot) that came in a 4 pack for under $4. I probably should have used white to disgue them a little better, but hey, I still like the look of it. We placed it above the couch as a focal design point. The glow balls are solar powered and only turn on in the evening.

Be sure to check back soon for more inexpensive and simple home DIYs that I'm working on :)

Monday, May 11, 2015

Graduation Gap


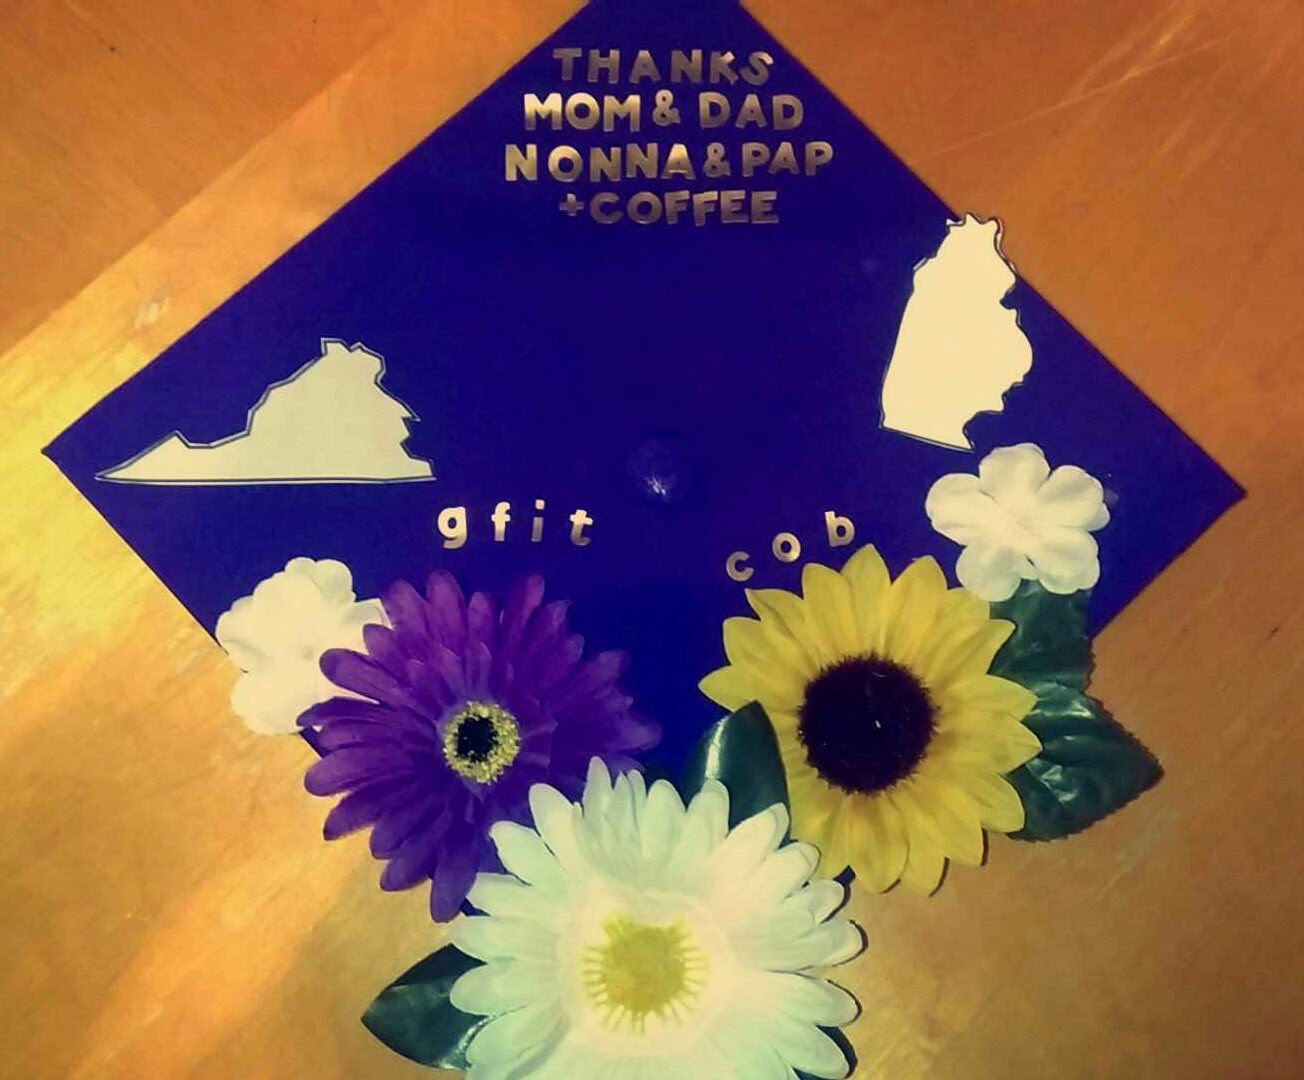
I started by laying out the design I wanted before gluing anything down. Be sure to double and triple check that the cap is facing the right direction!! I hot glued the flowers to a small square of paper then hot glued the paper to the cap.

I used gold stickers to match the purple and gold theme. I printed out the shape of the states so I could align the text properly. For the final copy, I traced the outline of the states on heavier cardstock and used a glue stick to hold them down. I wouldn't advise using the glue stick as it doesn't hold as well as the hot glue does. 

Ta-da! My finished cap! The states represent moving from my home in Virginia to Illinois. GFIT and COB represent my affiliations with Group Fitness and the College of Business, which occupied most of my undergrad time. 


Sunday, April 19, 2015

Graduation Preperation

T-minus two weeks until graduation! 
In front of Wilson Hall, the main building on the quad.

I am so excited and have been working hard to get everything put together before May 8th. From buying my cap, cords, and gown to getting my senior portraits done all while balancing final exams and papers. I wanted to take a break and post some pictures to share with you all!


Used this shot to make my announcements on Shutterfly.com

Used flowers from the craft store and gold stickers to decorate my cap
"THANKS
MOM & DAD
NONNA & PAP
AND COFFEE"